How to install MySql workbench on Ubuntu.
MySql is one of the most used databases worldwide. To manage MySql database there are a lot of open source GUI tools are available. Some of the popular GUI based tools is MySql workbench, phpMyAdmin etc. In this tutorial, you’ll learn how to install MySql workbench on Ubuntu.
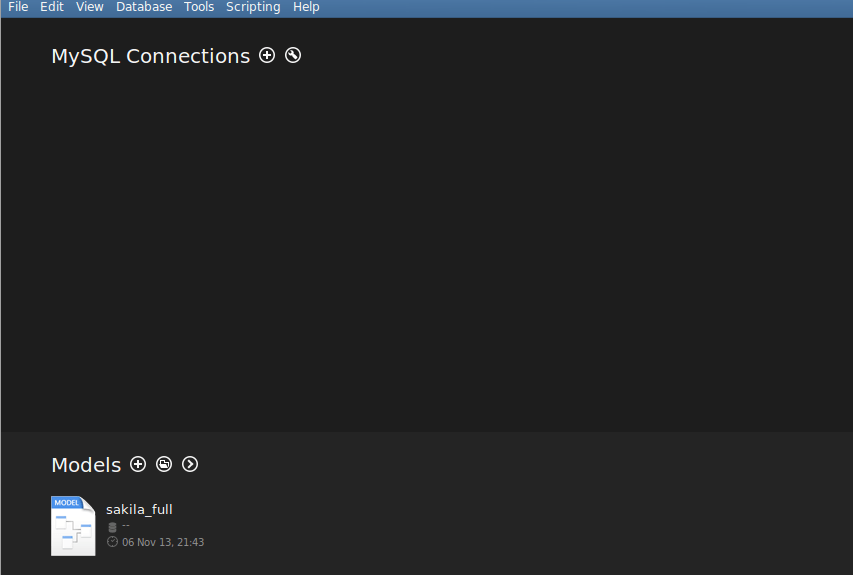
MySQL Workbench
MySQL Workbench is a GUI-based visual tool. Workbench is widely used by developers, DBAs for data modeling, SQL development, and comprehensive administration tools for server configuration, user administration, backup, and much more. This tool is available for Windows, Linux and Mac OS operating system.
In this article, I’ll show how you can install MySql workbench on Ubuntu.
How to Install and Remove phpMyAdmin on Ubuntu.
How to Install MySql Workbench on Ubuntu
Workbench can easily install on Ubuntu using few terminal commands. Go to the terminal(shortcut key ctrl + alt + T) and type following commands.
|
1 |
$ sudo add-apt-repository ppa:olivier-berten/misc |
If you are a beginner and not familiar with Linux commands then you can check my tutorial on Linux Commands with example.
The apt-get update commands downloads the package lists from the repositories and “updates” them to get information on the newest versions of packages and their dependencies so that you’ll install the latest version of software packages.
|
1 |
$ sudo apt-get update |
Now all the packages information is updated, let’s install workbench.
|
1 |
$ sudo apt-get install mysql-workbench |
Now installation is complete to start this application, type following command on terminal.
|
1 |
$ mysql-workbench & |
We have done workbench installation through the debian apt-get package manager. If you want to know more about this utility. Read about package management through apt-get utility.